
The End of the Self-Removal Saga for Nvidia Drivers
The End of the Self-Removal Saga for Nvidia Drivers
Whenever you download and install a newNvidia driver on your PC, itkeeps uninstalling itself a few days later? Don’t worry, it’s fixable! And in most cases, the fix is pretty fast and simple…
Try these fixes
Here are 4 fixes that have helped other users get their Nvidia drivers working again. You may not have to try them all; just work your way down the list until you find the one that works for you.
- Check your device installation settings
- Delete the logging file in your Windows Registry
- Update your Nvidia driver
- Reinstall your Nvidia driver
Fix 1: Check your device installation settings
You can go toDevice Installation Settings to stop Windows from automatically downloading drivers, then redownload the Nvidia driver you want. Here’s how to check your device installation settings:
- On your keyboard, press theWindows logo
 key andR at the same time to invoke the Run box.
 - Typecontrol and pressEnter to go to Control Panel.
 key andR at the same time to invoke the Run box.
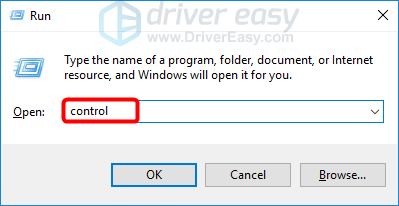
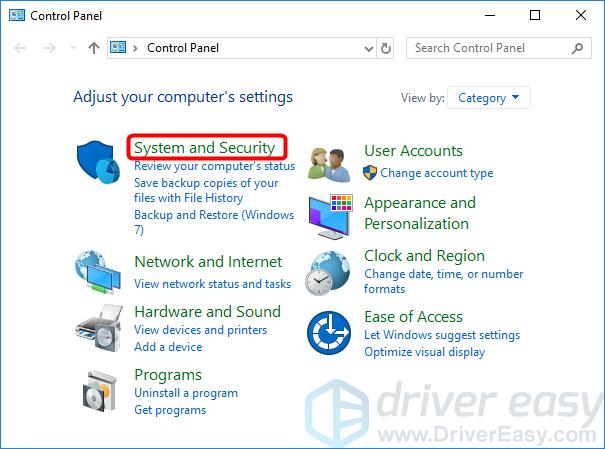
3. ClickSystem and Security .
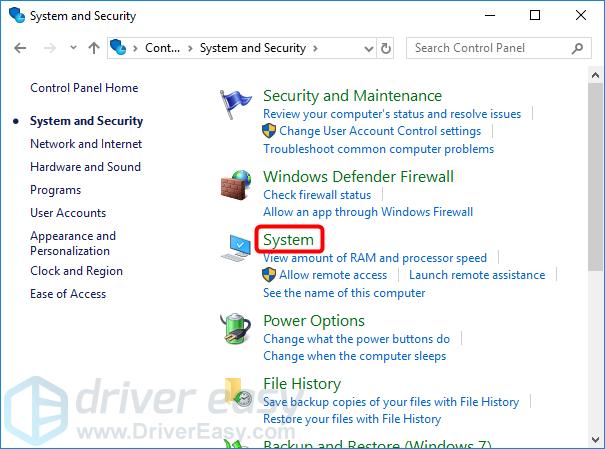
4. ClickSystem .
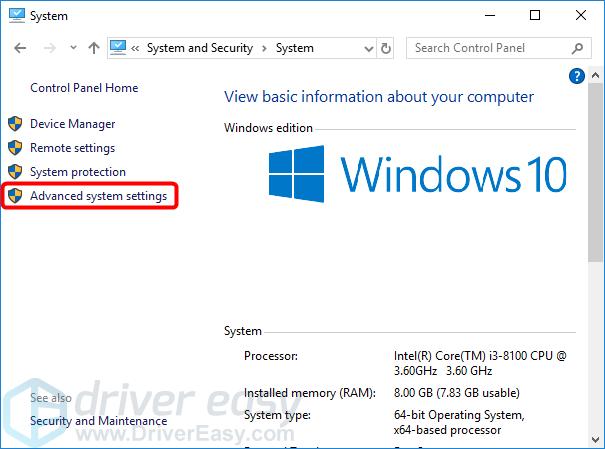
5. ClickAdvanced system settings .
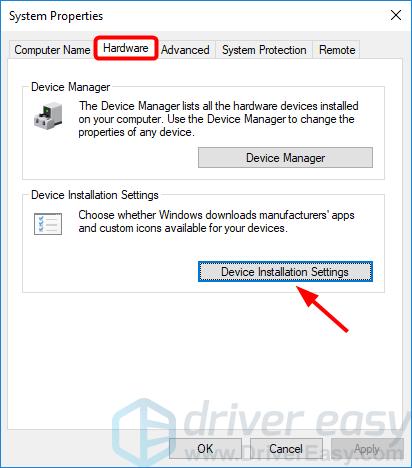
6. Click theHardware tab, then theDevice Installation Settings button.
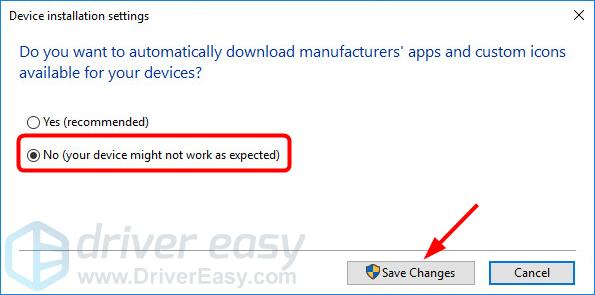
7. SelectNo , and clickSave changes .
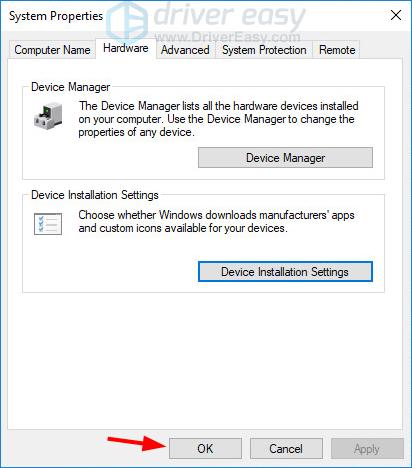
8. ClickOK .
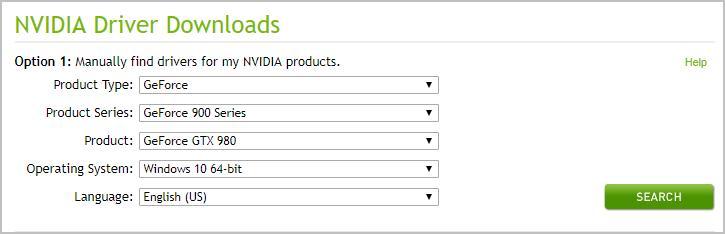
9. Go to theNVIDIA Driver Downloads page to download the needed driver for your Nvidia graphics card.
10. Open the downloaded file and follow the on-screen instructions to install the driver.
- Restart your computer and check if the problem is resolved. If not, try Fix 2, below.
Fix 2: Delete the logging file in your Windows Registry
- You should first make sure all Nvidia services are stopped:
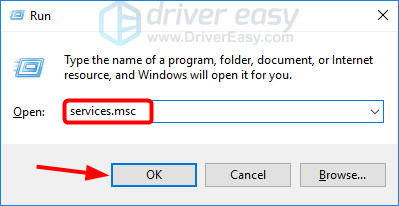
- Press theWindows log key andR together to open the Run box.
- Typeservices.msc then clickOK .
- Press theWindows log
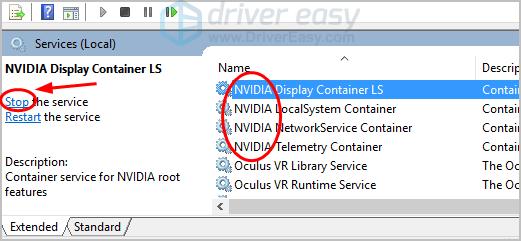
3. Select and stopall Nvidia services.
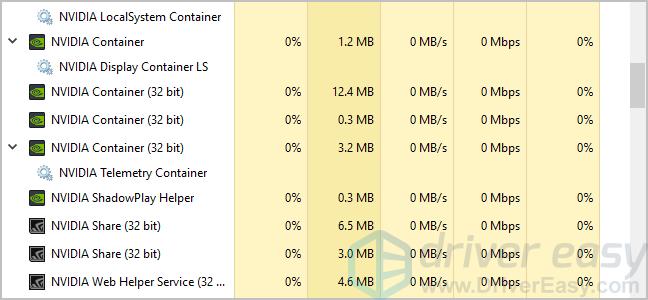
2. You should also check that all Nvidia programs are ended:
PressCtrl+Shift+Esc to open Task Manager.
Endall of Nvidia apps and processes.
You can then delete the logging file in your Windows Registry:
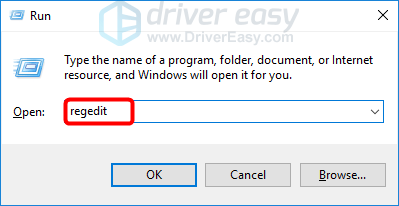
- PressWindows+R to open the Run box.
- Type regedit and pressEnter .
- Navigate to the following path, then delete theLogging file:
HKEY_LOCAL_MACHINE\SOFTWARE\NVIDIA Corporation\Logging
HKEY_LOCAL_MACHINE\SOFTWARE\Wow6432Node\NVIDIA Corporation\LoggingVisit the Nvidia website to download and install the needed driver. If you’re not confident playing around with drivers manually, you can, instead, update your Nvidia driver automatically withDriver Easy in Fix 3, below.
Fix 3: Update your Nvidia driver
If your Nvidia driver is missing, corrupted, or improperly installed, it can also trigger theNvidia driver keeps uninstalling itself issue.
If you don’t have the time, patience or computer skills to update your Nvidia driver manually, you can do it automatically with Driver Easy . You don’t need to know exactly what system your computer is running, you don’t need to be troubled by the wrong driver you would be downloading, and you don’t need to worry about making a mistake when installing. Driver Easy handles it all.
- Download and install Driver Easy.
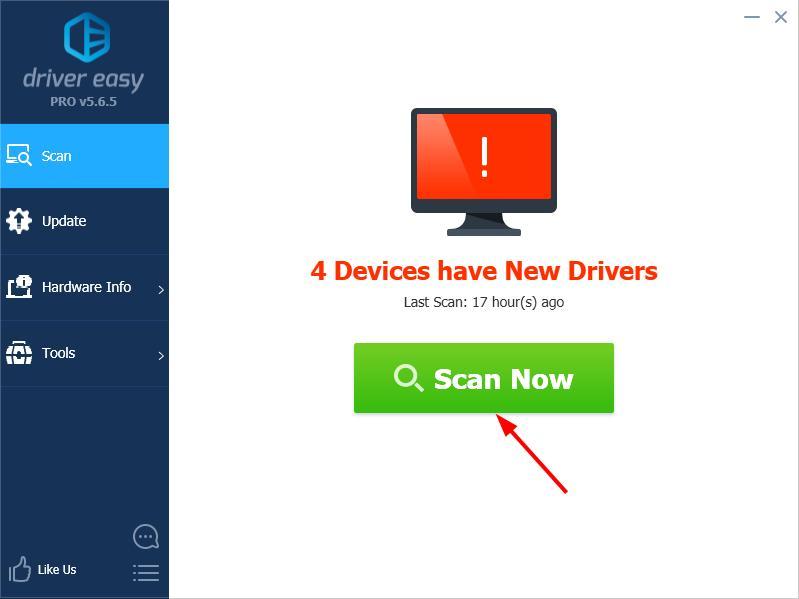
- Run Driver Easy and clickScan Now . Driver Easy will then scan your computer and detect any problem drivers.
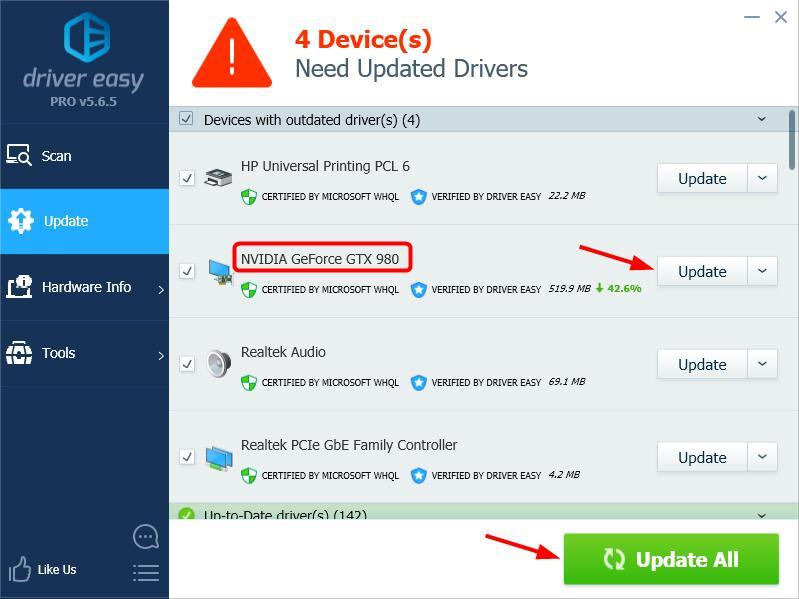
- ClickUpdate next to any flagged devices to automatically download the correct version of their drivers, then you can install them manually. Or clickUpdate All to automatically download and install them all automatically. (This requires the Pro version – you’ll be prompted to upgrade when you click Update All. You get full support and a 30-day money back guarantee.)
4. Restart your computer and check if your Nvidia driver now works properly. If it doesn’t, contact Driver Easy’s support team at**support@drivereasy.com ** for further assistance. They’d be happy to help you. Or you can move on to Fix 4, below.
Fix 4: Reinstall your Nvidia driver
- Typecontrol in the Run box and pressEnter to open Control Panel.
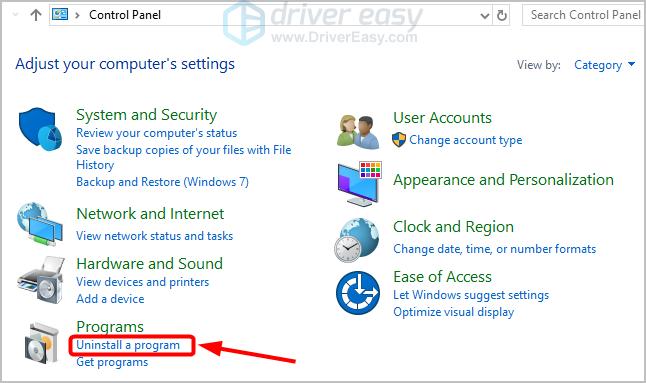
- ClickUninstall a program .
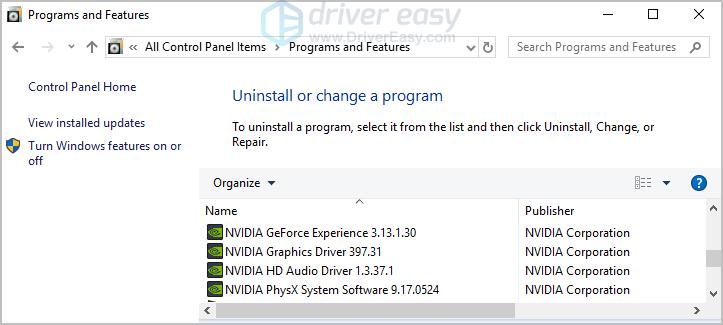
- Delete all Nvidia programs.
4. Restart your computer.
- When you’re back in Windows, repeat the steps in Fix 2 above.
After trying all of the above fixes, does your Nvidia driver now work properly? If not, don’t give up hope. Our IT specialists will help you fix it for free, if you buy Driver Easy . Plus you get a super-easy way to automatically update all your drivers, and keep your computer in tip-top shape!
Either way, as always, you’re more than welcome to leave a comment below to share your results or any other suggestions.
Also read:
- Does He/She See My Message? A Guide to Identifying Text Reads
- Easy Setup of Logitech BRIO USB Camera - Download Latest Drivers for Windows 10, 8 & 7 Users
- Elevate Every Click with Tailor-Made AI-Generated Titles
- Happy Campers: Wacom Connected, Everywhere!
- How to Lock Apps on Honor X9b to Protect Your Individual Information
- How to Successfully Update Your HCMon Driver and Avoid Common Mistakes
- Immerse Yourself in 3D Movie Magic – The Best Ways to Use Fandango's Online Services
- In 2024, Glow-Enhanced Video A Right Move for HDR Crafting?
- Is GSM Flasher ADB Legit? Full Review To Bypass Your Honor Magic 6 ProFRP Lock
- Mac Data Sync Made Easy: The Ultimate Step-by-Step Guide
- Quick and Easy Guide: How To Change TREC Videos Into AVI with Minimal Fuss
- Resolve Vanishing Signal Proc on PCs
- Resolving Non-Responsive HP Wireless Keyboard Problems - Effective Solutions Inside
- Solving Issues with Older USB Composite Devices for Better Compatibility Today
- Step-by-Step Fix: Overcoming Challenges in Hcmon Driver Implementation
- Step-by-Step Guide to Correcting 'Access Denied' For Proper USB Drivers Setup
- Understanding and Troubleshooting the Legacy USB Composite Device
- Updated In 2024, How to Use Emojis on Windows 10 and Windows 11?
- Windows 11: Addressing Bus Controllers
- Title: The End of the Self-Removal Saga for Nvidia Drivers
- Author: Kenneth
- Created at : 2025-02-16 07:51:52
- Updated at : 2025-02-19 21:57:59
- Link: https://driver-error.techidaily.com/the-end-of-the-self-removal-saga-for-nvidia-drivers/
- License: This work is licensed under CC BY-NC-SA 4.0.